We’ve had a lovely year of courses and shows, meeting new people and sending them home happy, well-fed and with a chair they’re proud of.
It’s been busy with new opportunities: we’ve taught Danish cord weaving at the Festival of Upholstery, a seat weaving class at the St.Alban’s Upholstery School and have launched workbench plans in our online shop.
Thank you so much to everyone who has come on a course, at our workshops and elsewhere. Thanks also to those who have supported us through buying products in our new shop.
Our courses start again in March but over the winter we’ve got plenty to keep us occupied: a new chair design that will be offered as a course, production of our hard finishing wax and vice screws and the launch of custom made workbenches, available from our online store. We’ll have more details of all of these in the new year.
Course Dates 2026
We’ve published the dates for our courses for 2026 – they’re all available on our website. They link through to Craft Courses for booking.
So that we don’t disappoint anyone we always run courses that have bookings; if just one person books on a particular date then that course will run. Whilst this makes no financial sense whatsoever we feel that if people make plans in advance they should be confident that they’re not going to be disappointed.
That said, we’ve scheduled over 30 courses for next season and sometimes we cancel courses that don’t have bookings a couple of weeks beforehand if they’re close to another date that’s fully booked.
If you’d like a course for a small group and our dates don’t suit you please get in touch. If we haven’t had a booking at a time that does suit you we’re always happy to move things around.
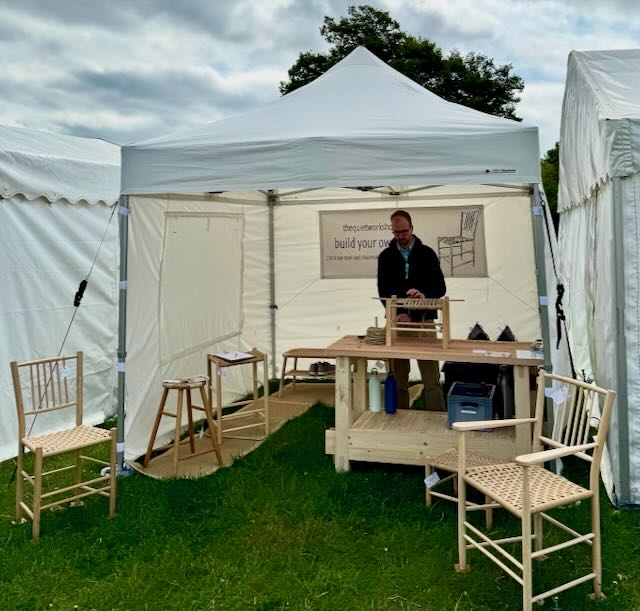
Shows – 2026
We’ve really enjoyed the shows this year and though they take out weekends during the season we find them a lovely way to meet people who are interested in our craft.
Some of these dates are provisional because not all the shows we attend have confirmed dates yet. We’ll update them on the website if they change.
- 7-10th May Living Crafts, Hatfield House, Hertfordshire
- 14-15th June Cambridge Town and Country Fair, Parker’s Piece, Cambridge
- 4-5th, 11-12th, 18-19th & 25-26th July Cambridge Open Studios – right here in Great Wilbraham
- 8-9th August Cambridge Country Show, Stow Cum Quy
- 12-13th September The Wonder of Wood Fair, Burwash Manor, Cambridge
- 30th-31st October London International Woodworking Festival, LDE UTC, Royal Docks, London
If you think there’s a craft show within an hour’s drive of Cambridge that we should attend please drop us a line. We’re always grateful for new opportunities.
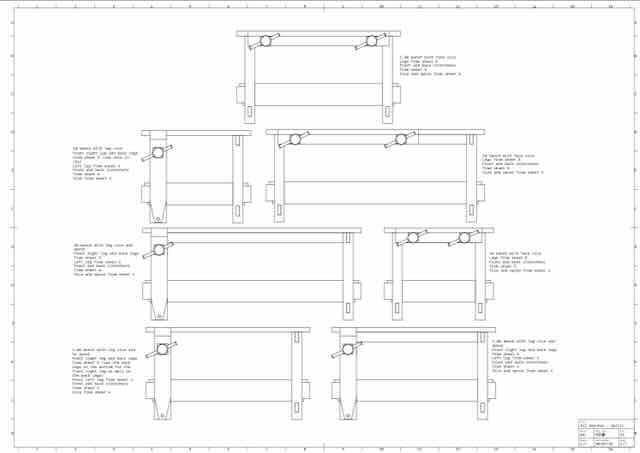
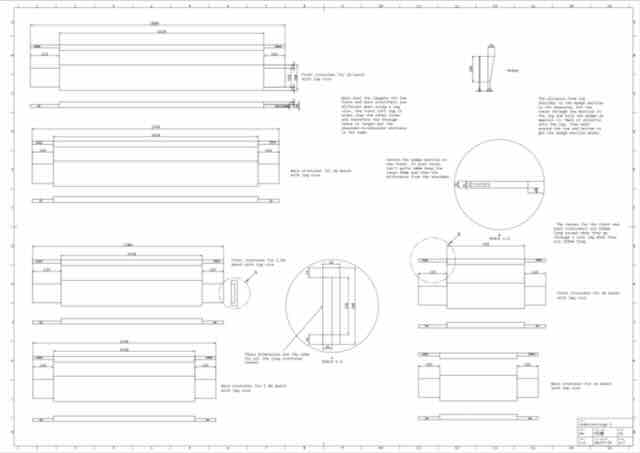
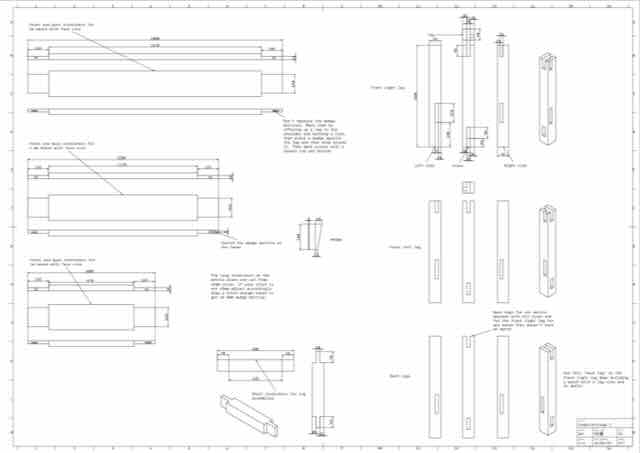
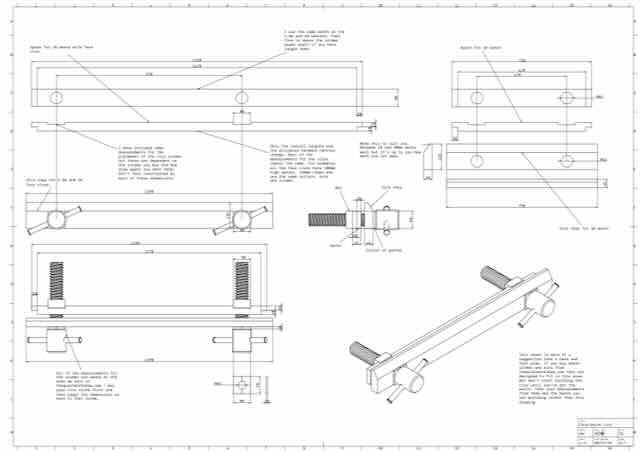
Workbench plans – available now.
Thanks to everyone who has downloaded or bought paper copies of our workbench plans. We’ve had some really useful feedback on these and we are looking forward to seeing some of the finished benches.

They’re available in six different sizes: three in metric, three in imperial. But they’re not just a straight conversion. We’ve designed the imperial and metric benches around the materials most commonly available in different regions and have worked out sensible sizes so that you don’t end up with something silly like a bench top that’s six feet six and forty seven sixty-fourths of an inch!
- 1m/3.5′ – ideal for chairmaking, small and easy to store but rock solid
- 1.5m/5′ – a good sized joinery bench but every piece is manageable when setting up or moving it around
- 2m/7′ – a bench big enough for any furniture project but with a top that’s still moveable by a normal human being
These benches have been designed with five principles in mind:
- Built from easily available materials with basic woodworking tools
- Only very basic joinery skills required
- Easy and quick to set up
- Every component must be light enough to move easily around your workspace
- Rock solid; the fact that it packs down quickly mustn’t make it flimsy in use
The plans include complete cutting lists for all pieces, a suggested tool list and instructions. Eventually there will be YouTube videos. We’ve finished the introductory video and working on the next 4!
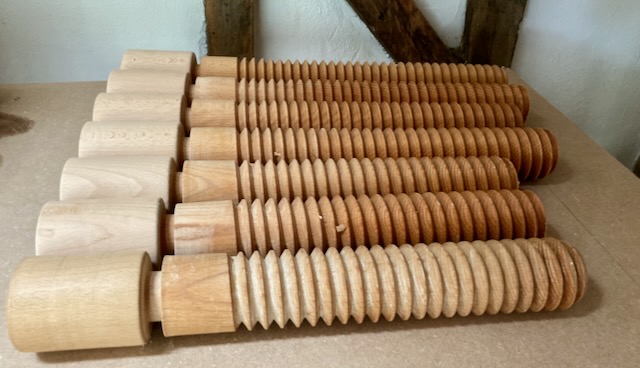
Workbench vice screws

To help you along with your workbench build we’ve started selling the vice screws that we use on our benches. You can use a metal vice attached to the top or you can get a wooden vice screw from us.
St.Alban’s Upholstery School & Studio
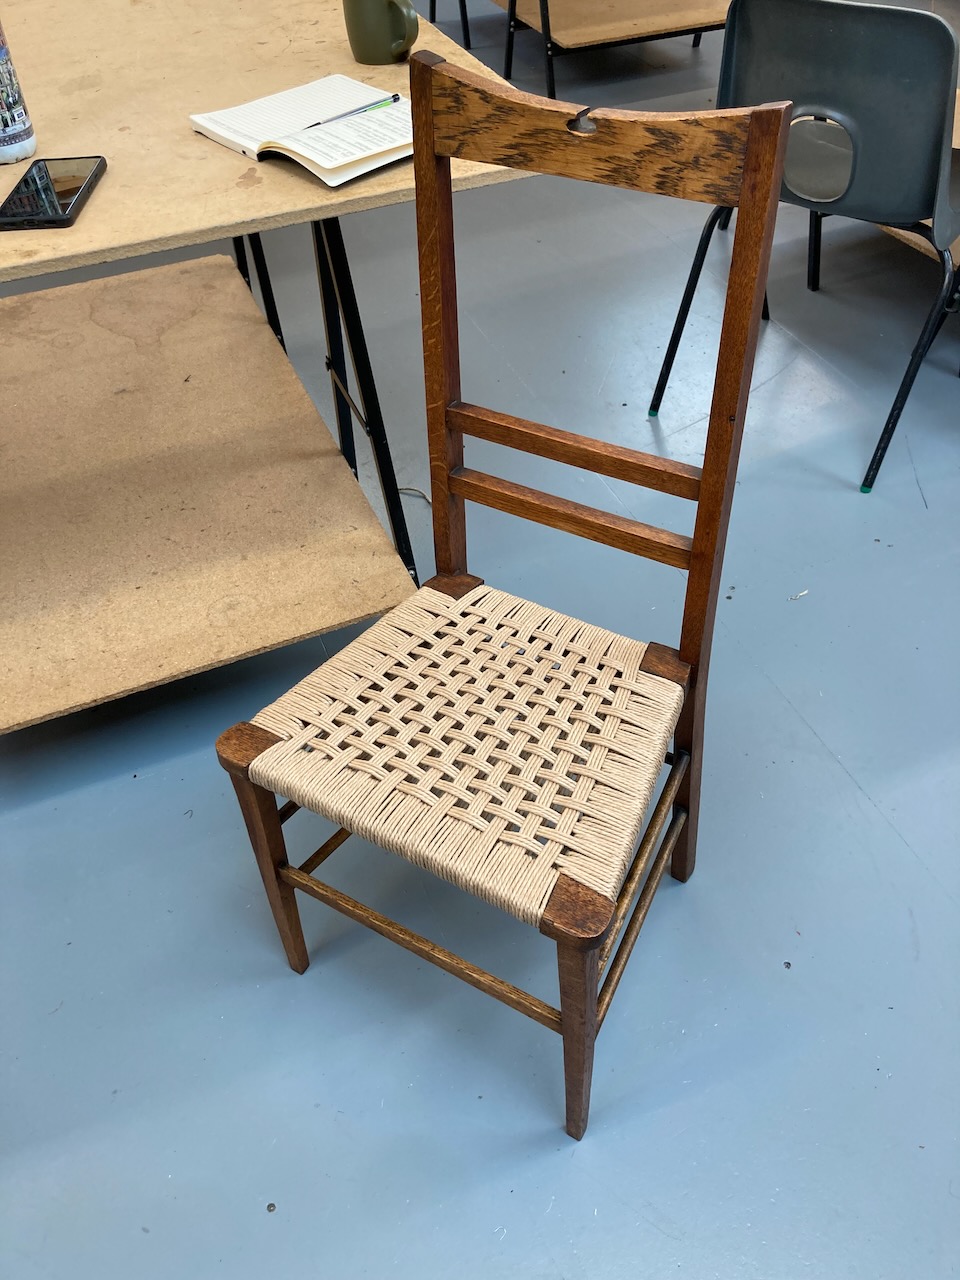
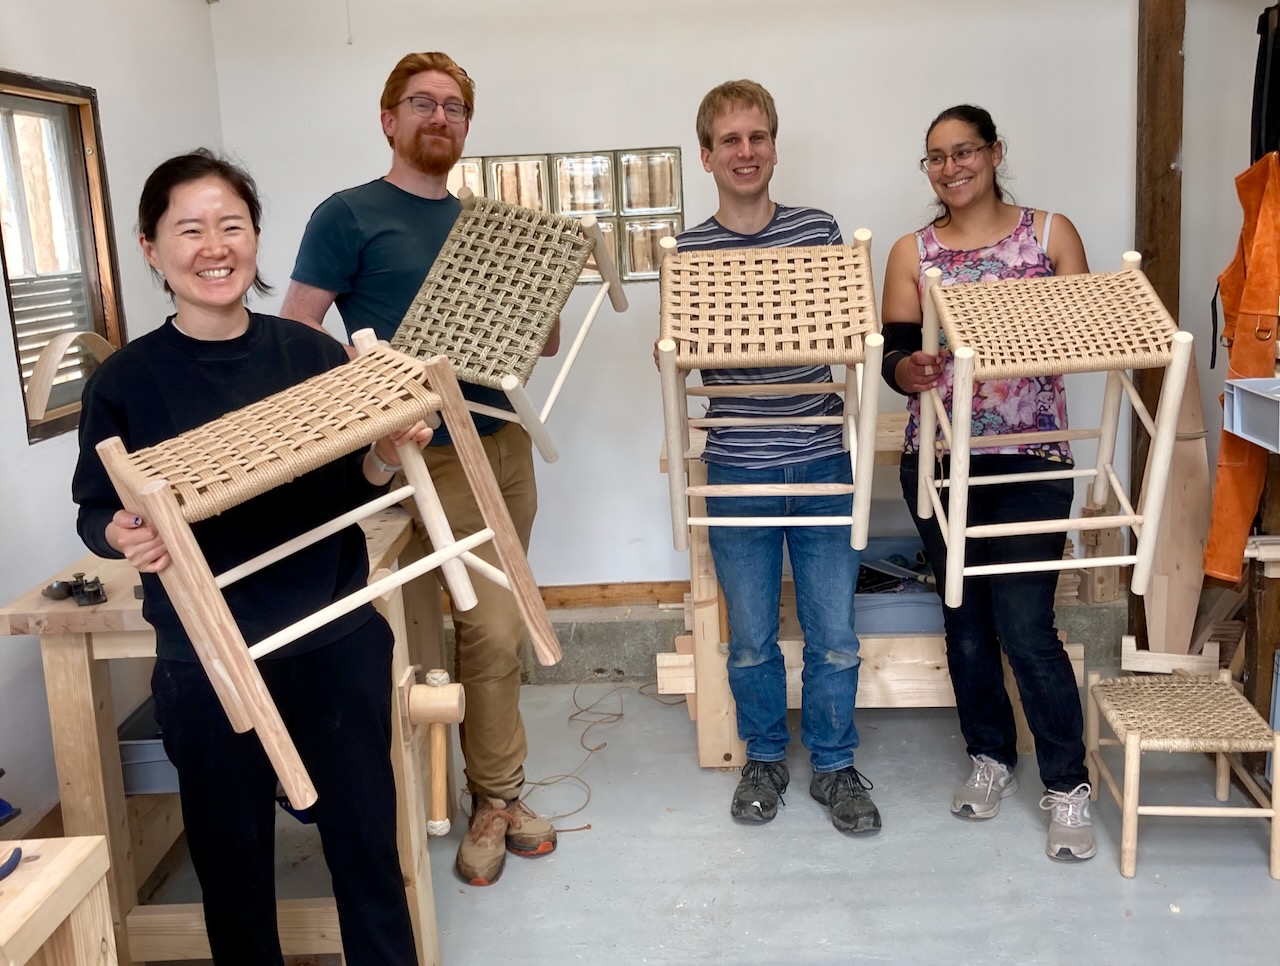
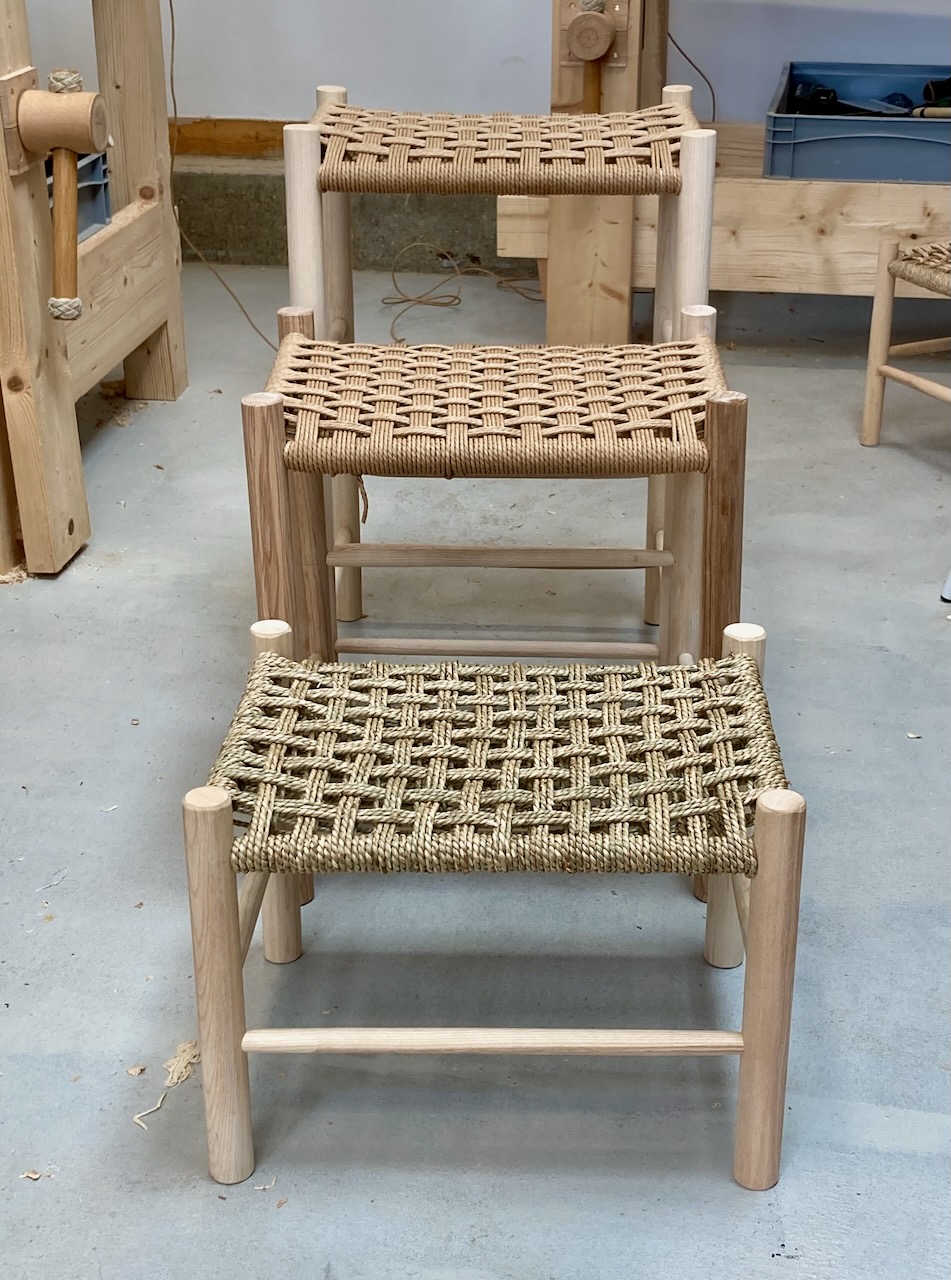
In September we taught a one day workshop in seat weaving with Danish cord and seagrass at the wonderful St.Albans Upholstery School. Participants brought their own chairs that needed a new seat and we worked out a solution for each chair. At the end of the day 8 new seat weavers went home with a completed chair.
It was a really challenging and worthwhile day. Usually we’re teaching people to weave the same seat with only a slight variation in pattern so seeing 8 different designs go home at the end of the day was very satisfying.
Nothing says you’ve done a good job like being invited back and we’re delighted to be delivering another course in January. Keep an eye on their website for details.
If you don’t know St.Alban’s Upholstery School and Studio I hesitate to point you towards their website. 5 minutes of looking at their gallery can prompt either a career change or radical rethink of your interior designs – you have been warned!
A splash of colour
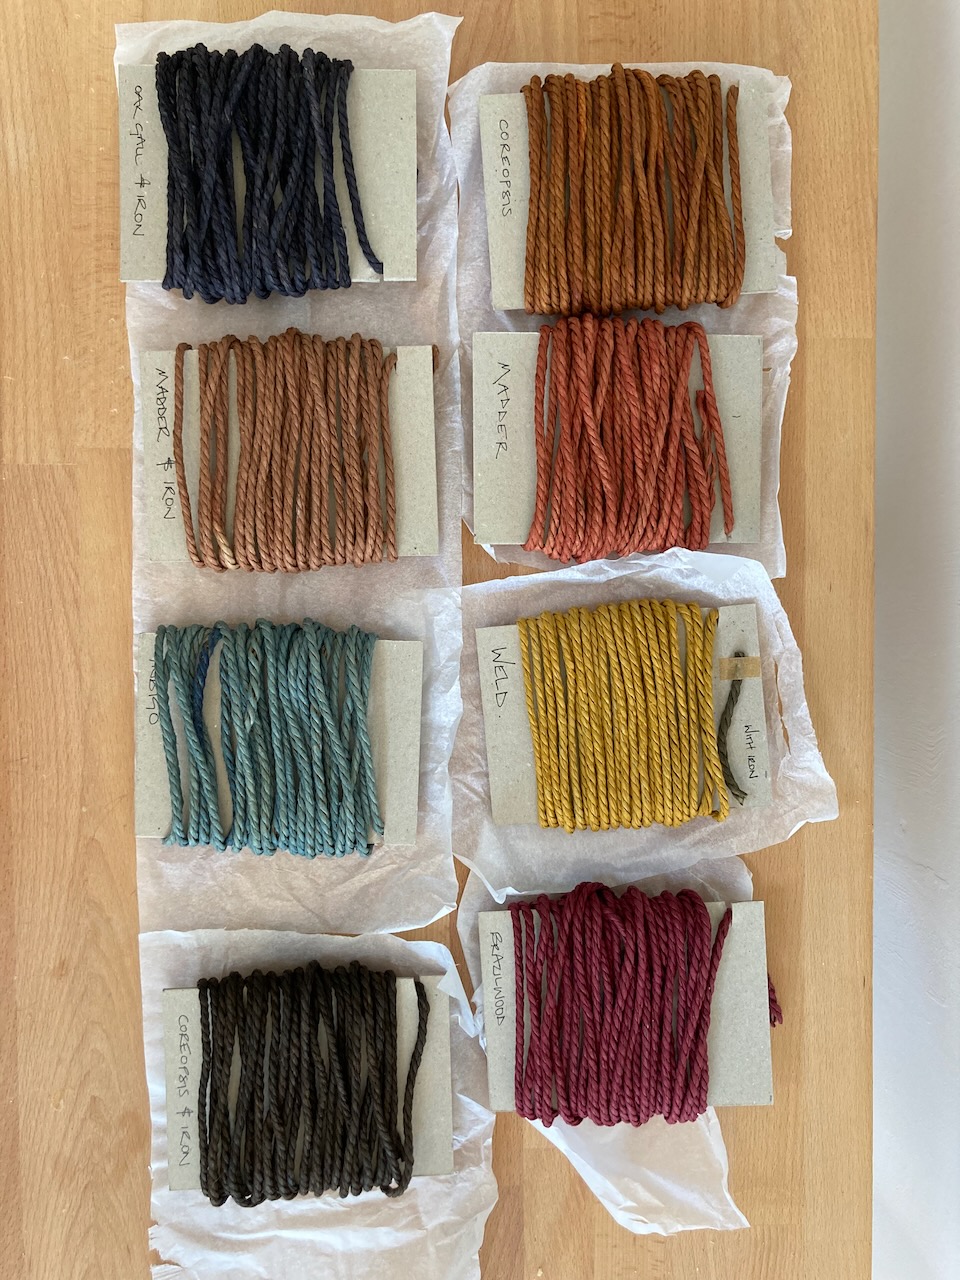
Our amazingly talented friend Jacqui Symons at Slow Lane Studio sent us some dyed Danish cord earlier in the year. We’ve been itching to weave it into a seat and finally found the time and the right chair.
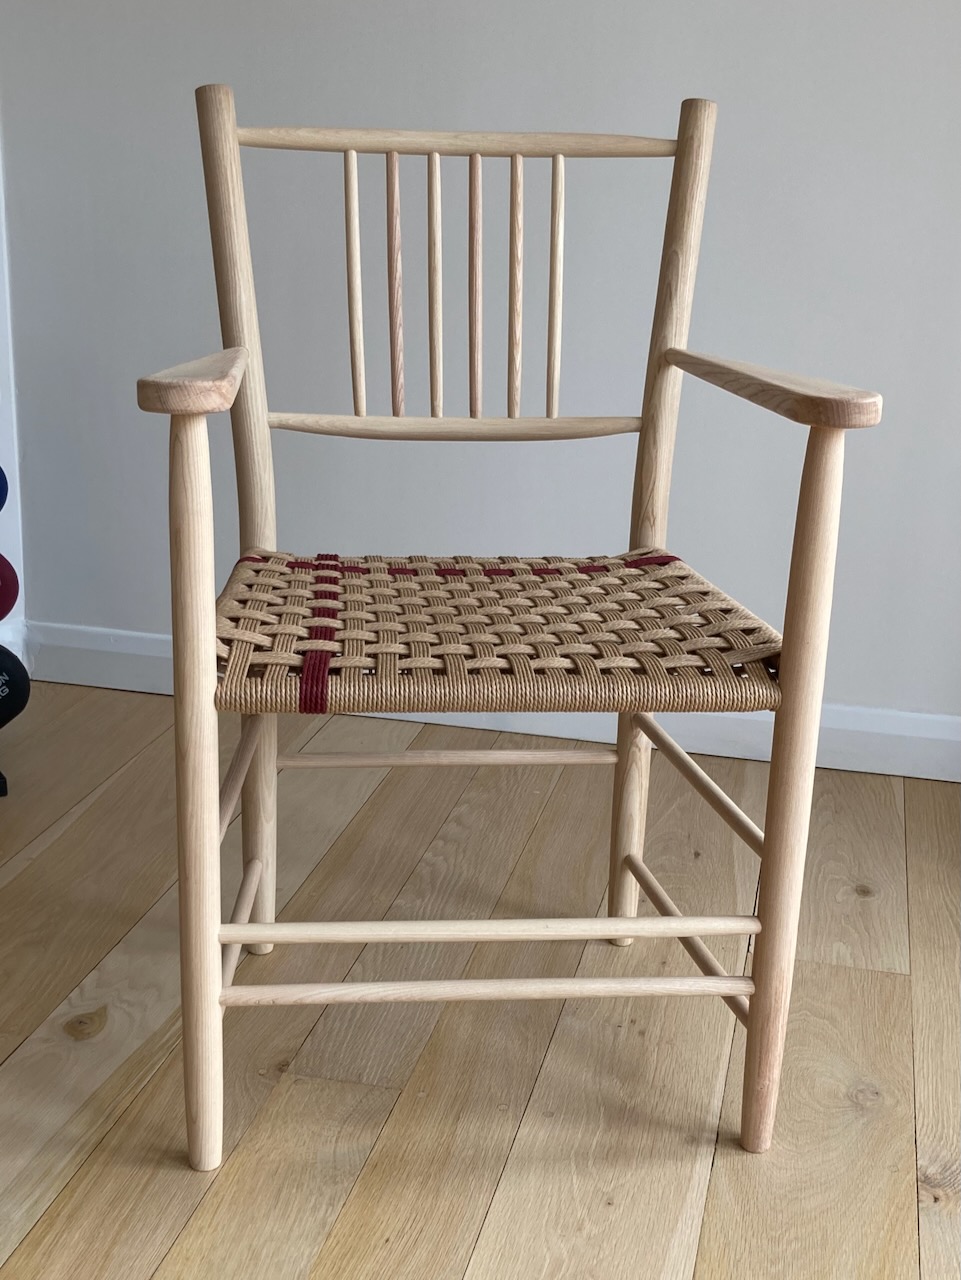
This arm chair uses cord dyed with Brazilwood. The photos don’t really do it justice. It’s an incredibly rich and deep colour and gives the light ash and muted Danish cord chair a new dimension.

We’ve got several more samples to try before we work out what to do next. It’s unlikely that it will feature on a course soon because we need to test it for colour transfer (sitting on it in light coloured trousers!) before we can be sure it’s a complete success. But for the time being we’re delighted!
Jacqui published a book recently on natural dyes and pigments. It’s the culmination of years of testing and researching and is beautifully illustrated. Available direct from her website.
Hard wax
On every course we get asked about finishes: oil or varnish, shellac or wax? We’re always very hesitant to recommend finishes to course participants because we’ve been so unhappy with what’s available. Ideally a finish should be easy to apply, hard-wearing, non-colouring and easy to repair if it gets damaged.
This is called a unicorn finish.
We’ve used lots of different finishes over the years and have had acceptable results from shellac and Osmo Polyx Raw, mixed results from oils and varnishes and disappointing results from waxes.
As a generalisation the longer a finish lasts the harder or more time-consuming it is to apply. Lots of oils and varnishes give too much orange or yellow colour to the wood. Soft waxes are easy to apply but give little long-term protection to the wood.
So several years ago we started experimenting with our own wax recipe. Most furniture waxes are soft and contain beeswax or a soft microcrystalline wax. Most use a petroleum based solvent. Most are easy to apply but offer very little longevity or protection.
But there is an alternative. Automotive and marine wax manufacturers use Carnauba wax, a natural, plant-based wax that has a higher melting point than beeswax but is much harder and longer lasting. It’s what professional ‘detailers’ use to make supercars look shiny.
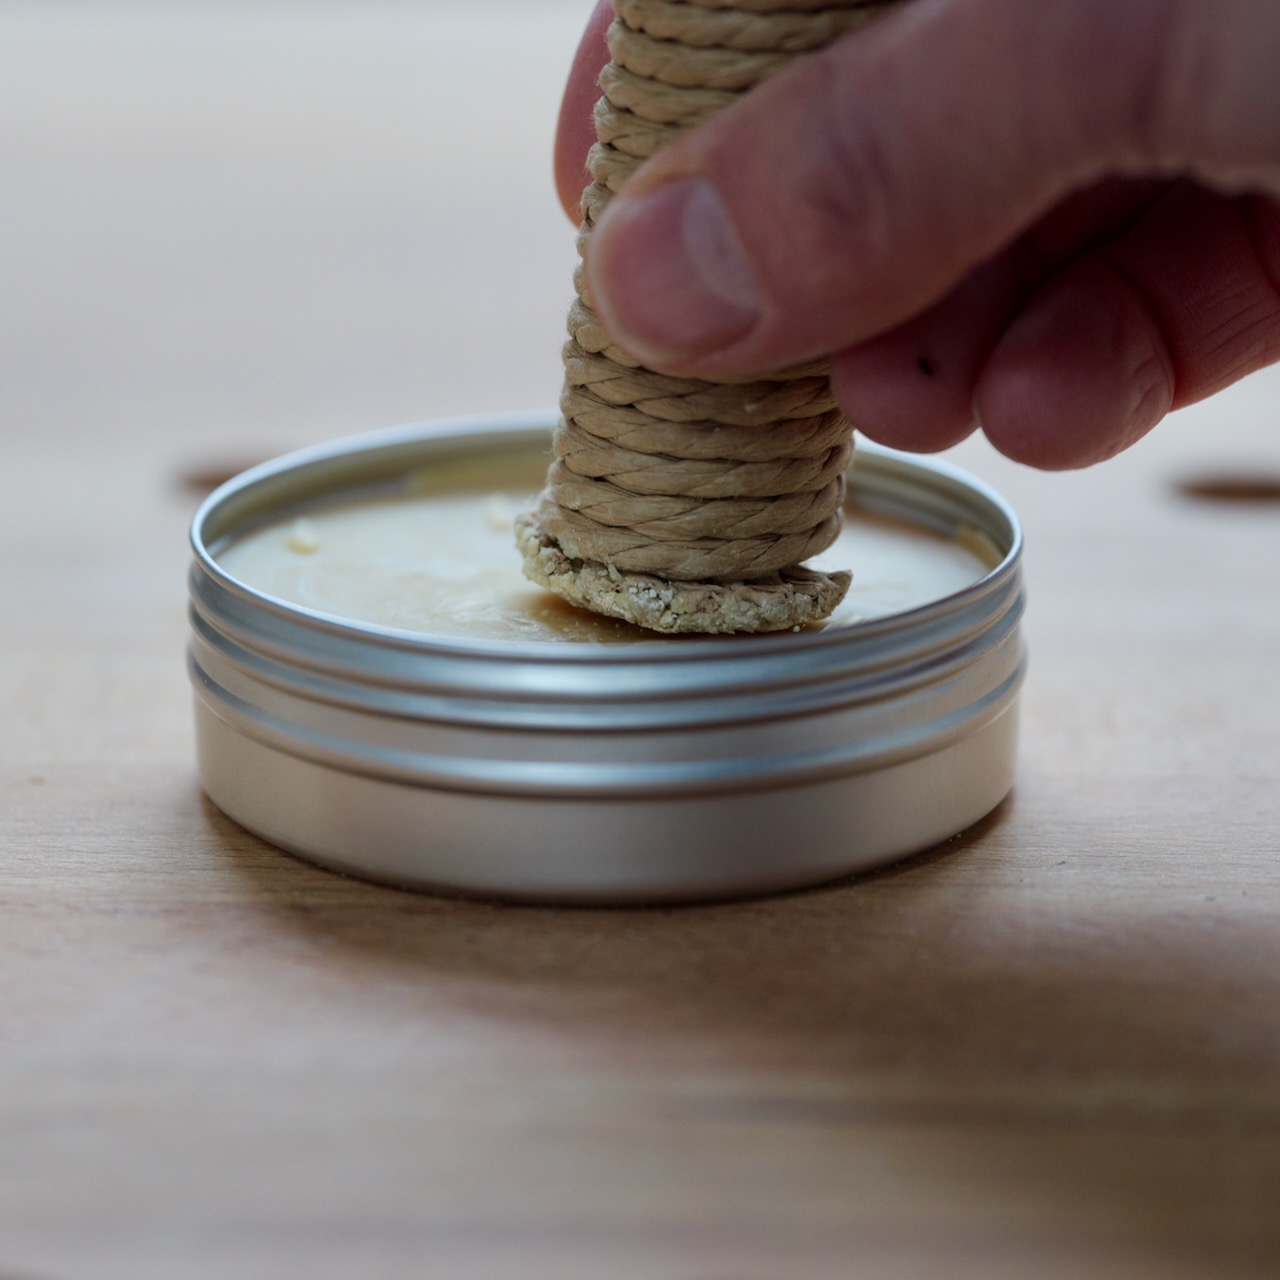
We started experimenting with a blend of Carnauba wax, beeswax and citrus oil to create a wax that is definitely a little bit harder to apply than traditional soft waxes but offers much better protection and longevity.
We’ve been using it on all of our workshop and household furniture for several years and have been tweaking the formula each time. Now we’re happy with the results.
It’s applied with either a burnisher or a grey pad, left for a few minutes and then buffed off.
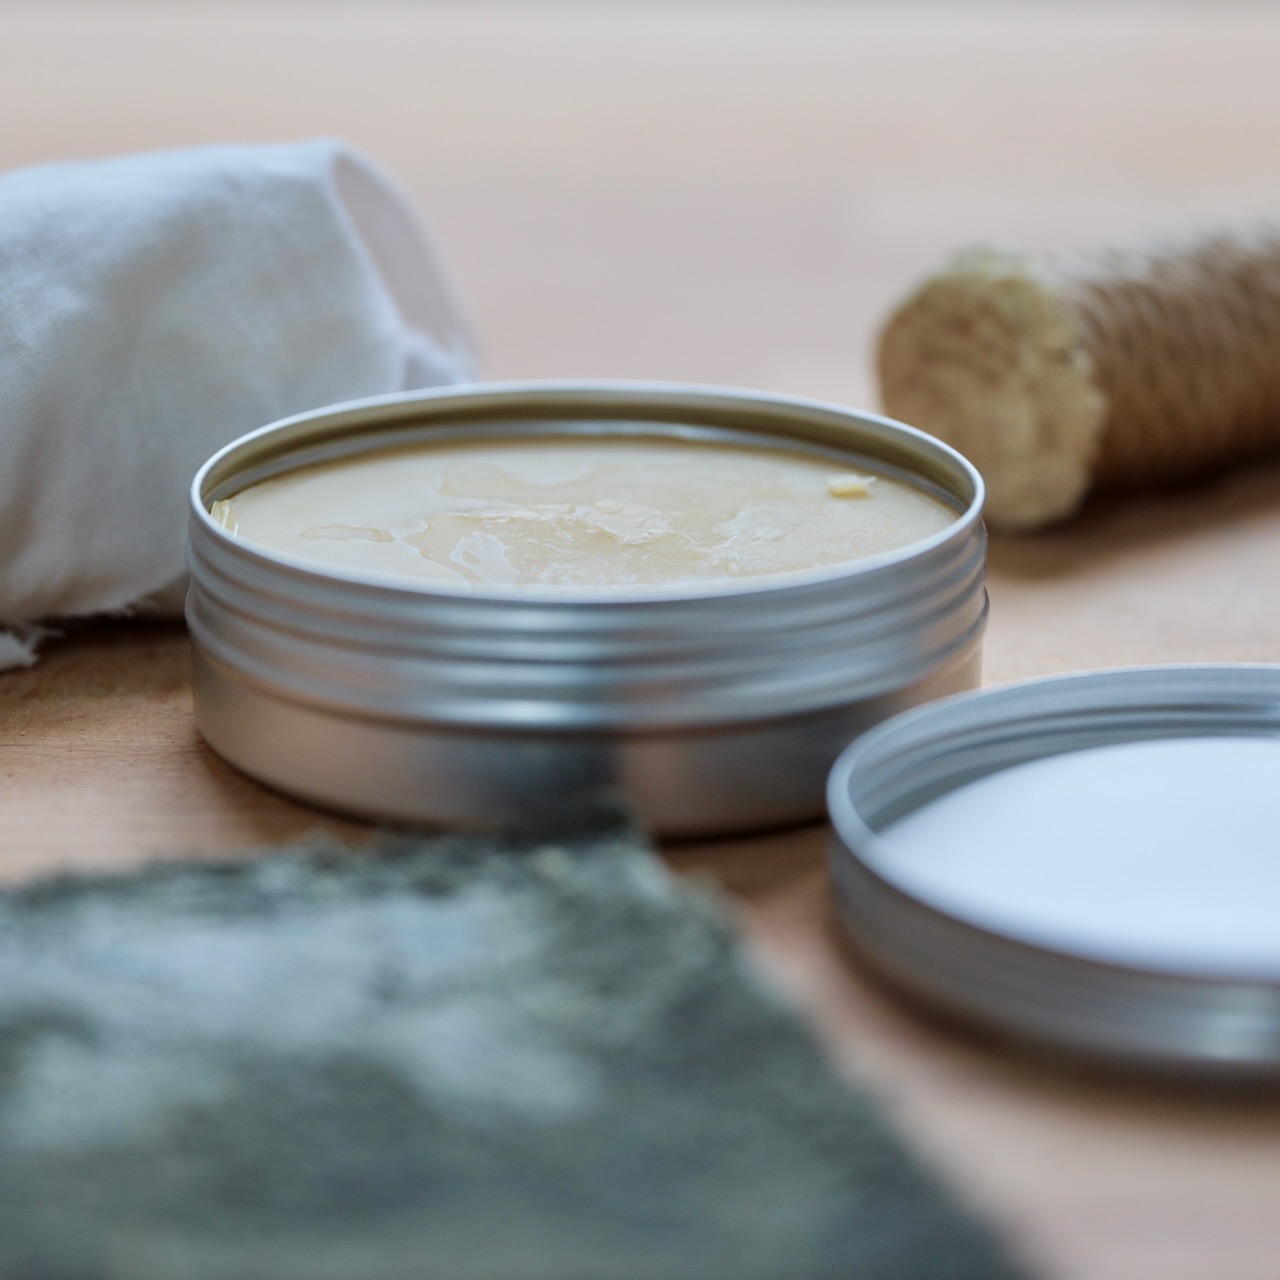
We use it on its own or over other finishes if required. It gives a soft, subtle sheen and leaves the wood feeling smooth and protected.
The huge advantage of a finish like this is that it can be applied in one coat and the piece of furniture can be handled straight away. You don’t need to leave it to dry overnight and if it starts to wear you can easily top it up without having to sand it back.
We’ve got to work out the packaging details and then we’ll be putting it up on website: look for it in the new year.
As always, if you’re interested in coming on a course and you want to find out more please give us a ring (07778 397328) or drop us an email. You can book all of our courses through the links on our website. If our dates aren’t perfect for you or you want to book for a group give us a call; we can usually work something out. Don’t forget course fees include all materials, lunch and refreshments each day.
Enjoy your time in the workshop.
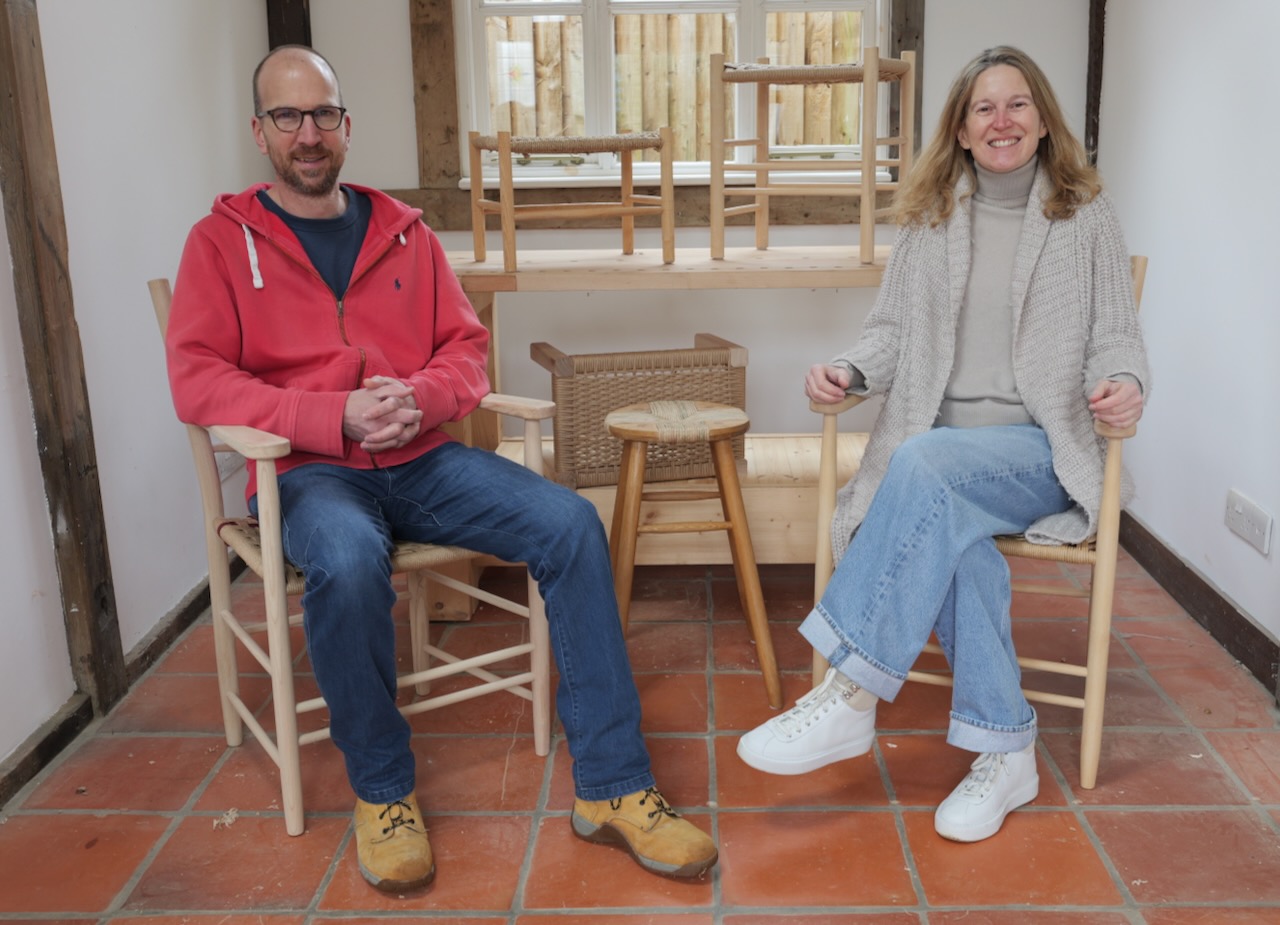
StJohn & Bryony