I’ve been preparing for social distancing since 1975. My barely-repressed nerd is now coming to the fore. If this is what happens in the first week imagine what I’ll be investigating by the peak? Comparative awl sharpening anyone? I could set up the microscope and look at the scratch marks made by each sharpening medium. In the meantime here’s a post about drill bits. Keep your puns to yourselves…

I probably make more ⅝” holes in cylindrical bits of wood than all other woodworking joints combined. Given that I’m in the middle of a set of grates for my boat with more than a thousand half laps that’s saying something.
Because of this I’ve put quite a bit of time and testing into drill bits. About ten years ago I bought a forstner bit with a square shank that fits my brace. Brendan Gaffney has written extensively about these and there’s no point repeating it. I was so taken with that bit that I started collecting them with an eye to one day teaching ladderback classes. In ten years I’ve managed to accrue a grand total of… 2.
So a couple of years ago I decided to start testing other bits. Covid-19 has given me the time to apply a veneer of objectivity.
We need a scoring system:
- Clean, consistent holes: very important. Chipped edges and scratches left by wandering bits are disappointing. If they don’t consistently bore the same diameter hole they’re no use. I’m double weighting this by giving a score for holes at 90° and another at about 80° – roughly the angle of stretchers into back posts.
- Ease of use: they have to be easy to locate on a cylindrical chair leg, cut without a herculean effort and not stall. If they bind and need to be cleared the score goes down.
- Speed: I’m measuring this in revolutions, not time. More points – lower time.
- Cost: I’m including postage. Some of these are hard to find. More points – lower cost.
- Availability: I thought about making this a binary score or combining it with cost. But I’ll keep it simple.
I use three species of timber most of the time: ash, oak and chestnut. Ash is disappearing from our woodlands but not yet from our timber yards. Oak is a perennial favourite and chestnut, whilst a bit prone to dents, is a great timber for chairs. If you want to know how these bits perform in your favourite species send me a piece and I’ll run the test again.
I bored four holes, 3/4″ deep with each bit in a 1 3/8″ leg blank from each species. I counted the number of revolutions each took and compared the holes. Halfway through I realised that I was using a 9/16″ Jennings bit and did them all again with the 5/8″. Then I did another set at an angle.

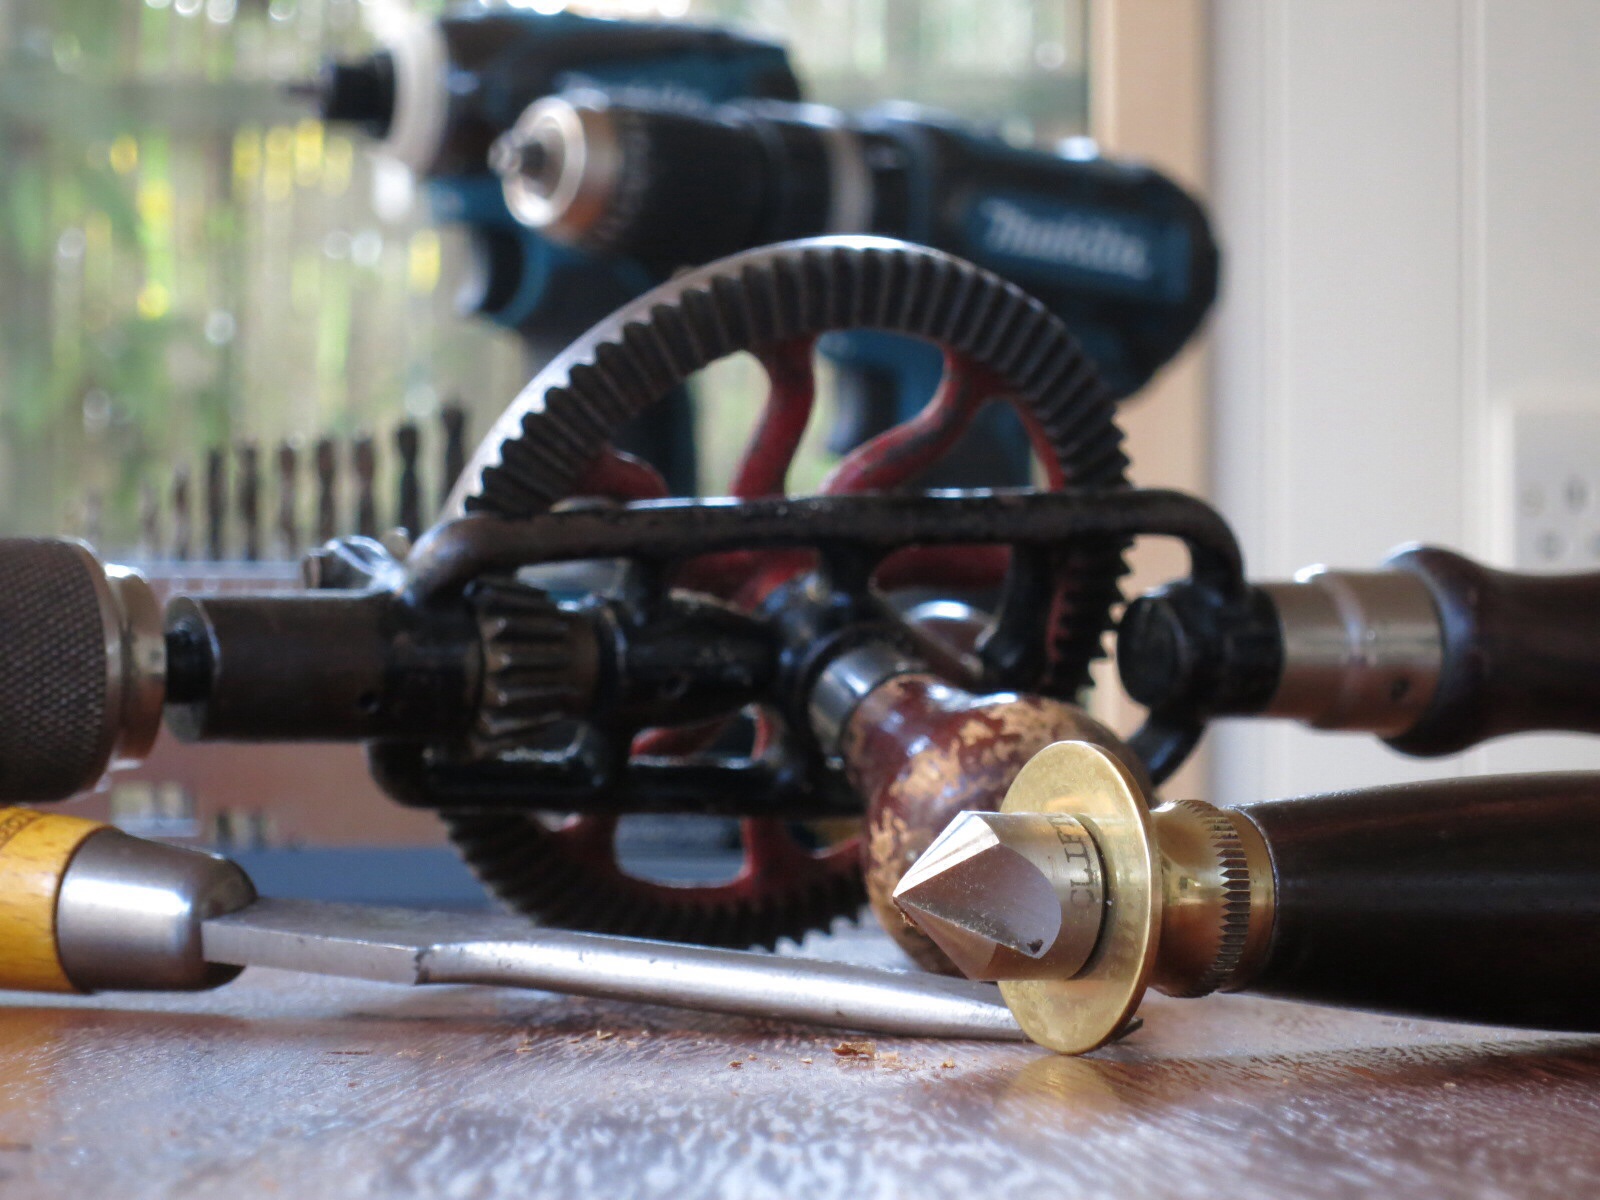
All holes are bored with a brace. The bits with a square shank are in an old extension. Those designed for an electric drill are in a Famag extension. None of the bits slipped in the extensions when properly tightened and the Famag extension didn’t slip in the brace.
Let’s meet the contestants.

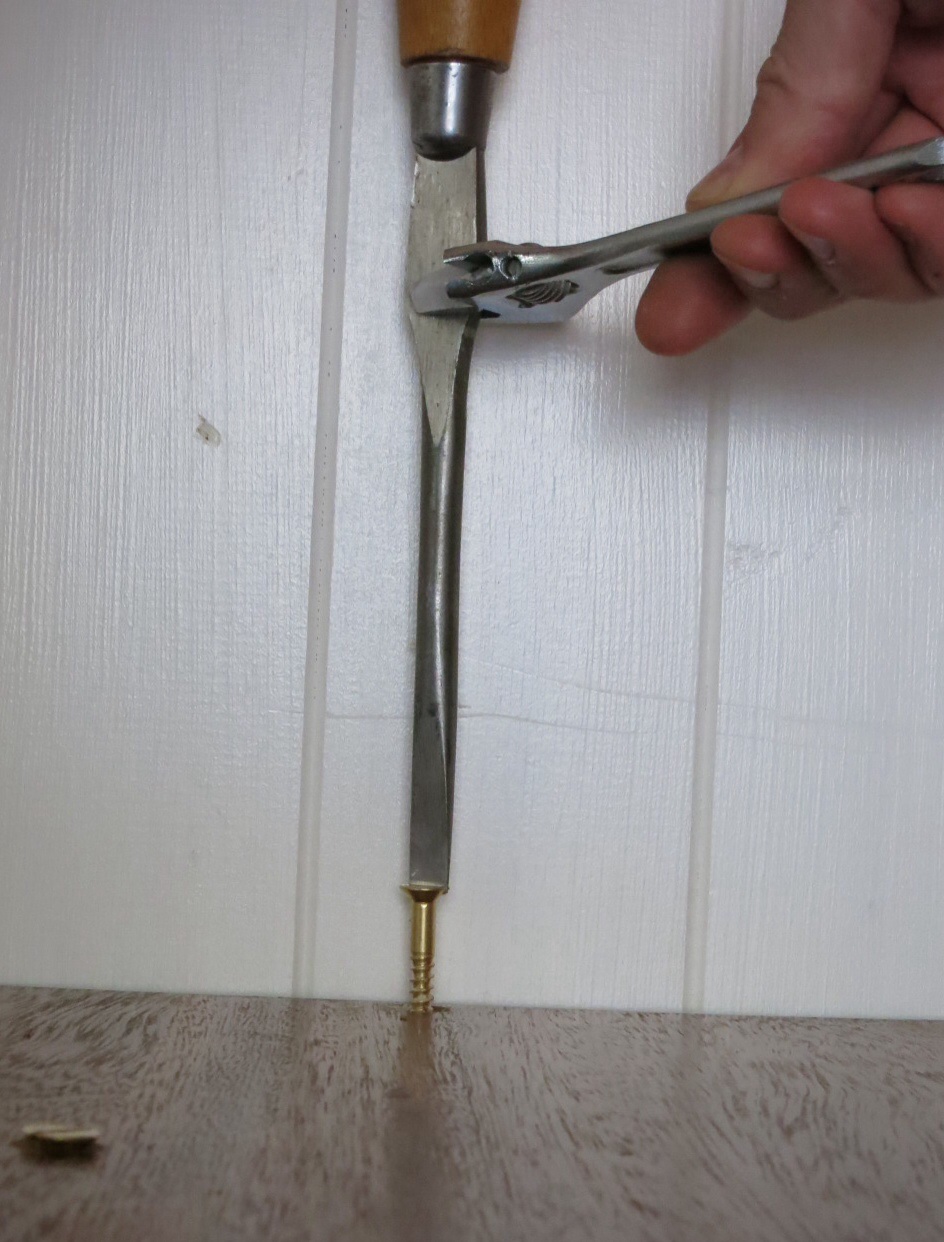
Spade bit. The cheapest bit here. Lots of people do good work with these but I’ve never seen one used like this..

Centre bit. I threw this in because I happened to have one about the right size. In fact it’s a bit bigger than 5/8”. I had very low expectations on turned parts.

Stanley Powerbore. Jenny Alexander’s favoured bit for green wood. This isn’t green wood and these are really hard to find new. They also have only one cutter so are likely to be slow.

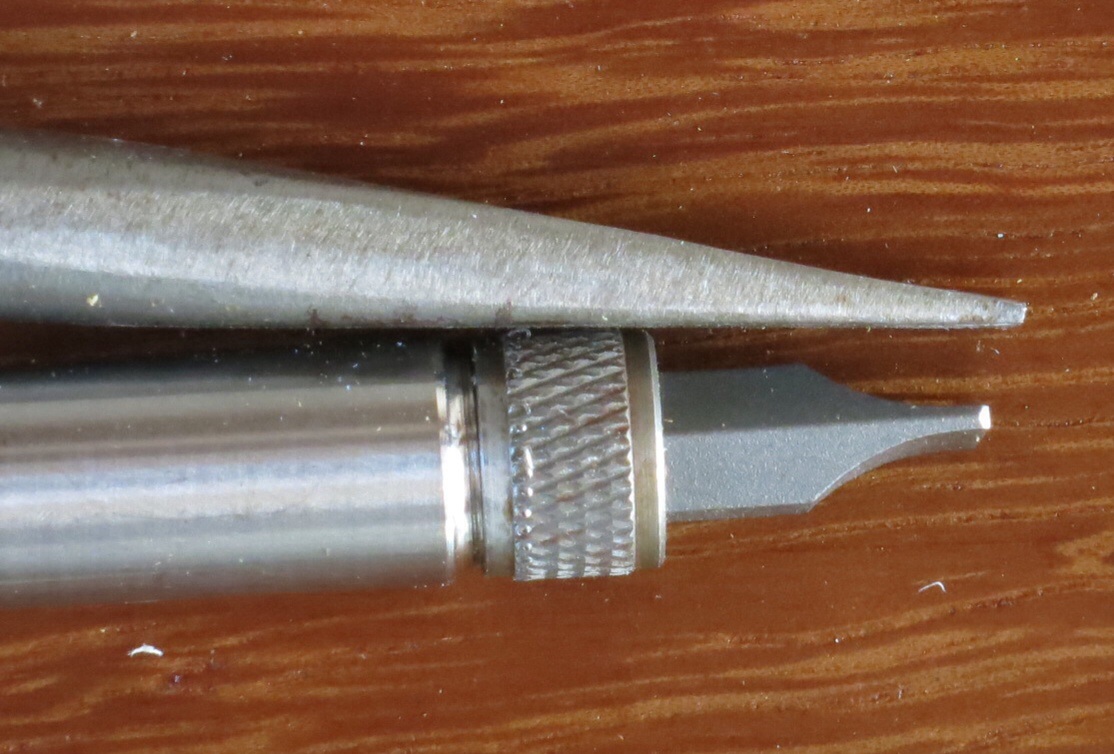
Gedge or Cooke’s pattern auger bit. Designed for end grain but liked by Windsor chair makers because they leave a clean hole. Interesting to sharpen.

Jennings pattern auger bit. Ubiquitous. One of my most used bits. But not for chairmaking.

Forstner bits designed for a brace. Rare, no longer made. I’ve got two so I tested both.

Famag Forstner bit. Excellent in a drill press. Saw tooth edge. I’ve been using these in a brace for a while.

Fisch Wave Forstner bit. Less saw tooth to the edge. Again, excellent in a drill press. I hoped that the wave edge gives some advantage over the saw tooth.

Wood beaver power auger bit. The most aggressive bit here with four cutters.*

Spoon bit. I didn’t even test this bit. I can make it work in flat stock. I’ve practiced with it enough so that it doesn’t wander around the workpiece but I couldn’t get it started anywhere near the mark in round stock. It’s here to say: don’t bother.
There’s one obvious bit missing: the brad point. Lots of chairmakers like these in electric drills. Curtis Buchanon and Pete Galbert both recommend they be used at full speed. Given that I’m using a brace they’re not really relevant. They’re also fiendishly expensive this large so I didn’t put them in the test. That said – if you’re using an electric drill big brad point drill bits are worth getting or grinding yourself.

Many boring hours later I had some surprising results:
| Bit | Clean/10 | Ease/5 | Speed/5 | Cost/5 | Available/5 | Total |
| Spade | 2 | 2 | 1 | 5 | 5 | 15 |
| Centre | 9 | 4 | 3 | 4 | 3 | 23 |
| Powerbore | 7 | 4 | 1 | 1 | 2 | 14 |
| Gedge | 1 | 2 | 5 | 1 | 1 | 10 |
| Jennings | 5 | 3 | 5 | 3 | 4 | 20 |
| Forstner for brace 1 | 6 | 3 | 2 | 1 | 1 | 13 |
| Forstner for brace 2 | 7 | 3 | 4 | 1 | 1 | 16 |
| Famag forstner | 8 | 4 | 4 | 3 | 5 | 24 |
| Fisch wave | 7 | 3 | 3 | 3 | 5 | 21 |
| Wood Beaver* | 2 | 2 | 5 | 3 | 5 | 17 |
Not what I was expecting either!
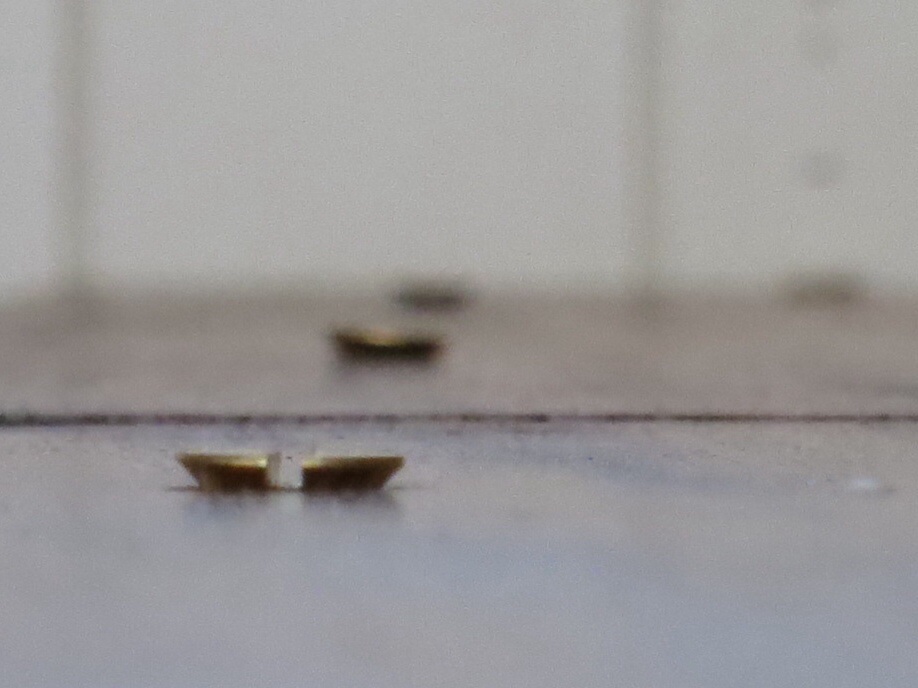
The hole nearest the camera in the first photograph was bored by a centre bit. It was consistently the best. It’s also the easiest to sharpen. However there’s one criterion I didn’t measure – consistent sizes between different bits. I’ve got a couple of centre bits that are roughly 5/8″ but that’s not really good enough. I need to be able to match them, consistently to a tenon former of a caliper on the lathe. Centre bits are all old and whilst very easy to find used aren’t consistent. If you’re working on your own and only need one bit you could do a lot worse than get one of these, keep it sharp and match your tenon former to it. It’ll work well.
But if you want half a dozen bits that are interchangeable and match tenons formed on the lathe then the Famag is the one. The Fisch was disappointing. It didn’t chip out but left a fuzzy edge along the grain. Not terrible but the Famag was better.
The biggest surprise was that the modern power bits were better in a brace than the old bits designed for the purpose. Even if cost wasn’t a factor I would be using the Famag.
It’s worth noting that the Jennings excellent at 90º but with even a small angle it produced a lot of tear out.
Most disappointing was the powerbore. I paid a lot of money both to buy it and get it here. Save your pennies.

*I previously called the Armeg Wood Beaver bit a Wood Owl. I don’t own a 5/8” Wood Owl but I do have one in 1” which I use for drilling dog holes in workbenches. The bit shown here and tested is a 16mm Wood Beaver. Great for drilling fast holes at right angles to flat stock. Not ideal here.