

Every chair making book I own shows the author sitting on a shaving horse contentedly pulling at a stick with a drawknife. On two of them it’s the cover photo. I’ve spent many happy hours doing the same myself, but a shaving horse takes up quite a bit of space in my little workshop and I rarely use it for anything but chairs. And it is the very definition of rabbit hole workshoppery: making the tool to make the thing. You can spend hours building a museum quality shaving horse before you start building chairs.
My drawknives see a little more action at the bench but they get harder to use the drier the timber so often I find a different tool if I’m not using green, ring-porous wood.
If you’re reading this you probably already have a jack plane and a workbench of some description which means you’ve already got the tools to start building chair parts.

While I was building this chair I tried to use common joiners’ tools before I picked up a specialist item. A couple have found their way into the kit when I felt the outlay was small and the time saving and precision were significant. So here’s the list:
Essential tools
- Jack plane
- Chisels: 25mm (1″), 6mm (1/4″)
- Cross cut saw
- Rip Saw
- Tenon Saw
- Mallet
- Bevel gauge
- Combination square
- Awl
- Tape measure/folding rule
- Marking knife
- Brace/electric drill
- Bits:
- 5/8″ nominal
- 3/4″ nominal
- 25mm (1″)
- Bit extensions if your bits are short
- Tenon rounder 5/8″
- Spokeshave
- Marking gauge
- Craft knife
- Leather scraps
- Glue brush
- Sandpaper
- 2x quick grip clamps
- 2x sash clamps or large F clamps
- Cable staple gun
- Wire cutters or heavy duty scissors
- Wallpaper steamer (or other method of making steam)
- Plastic bag or steam box
Optional but recommended
- Hold fasts
- Lump hammer
- Deadblow mallet
- Heavily cambered iron for jack plane
- Concave scraper
- Greenwood pencil
- Steam-proof gloves
Most of this is self explanatory but a few things are worth a note:
Spokeshaves

Modern, ‘premium’ spokeshaves have quite long soles. Their metal antecedents did not. My old £5 Record A151 is 19mm from toe to heel. My Veritas is a full 5mm longer. This makes the Veritas easier to use; all of the extra length is ahead of the iron so that it’s easier to register on the workpiece without rocking. It’s a clever design by the manufacturer that makes the learning curve much shorter. Unfortunately it makes all other curves much larger.

The shorter sole of the old Record (and its Stanley cousins) means that it can create smaller radius curves. This is very helpful when smoothing the concave curve of the back slats on this chair. You could buy a round bottomed spokeshave but it’s another tool to sharpen and store and they are a bit trickier to use. Old (and new) wooden spokeshaves are limited by the size of their irons. Many have longer soles than the 151 and the length is behind the edge.
Bevel gauge

One is essential. A second is not a luxury. If you don’t have one already my recommendation is the 10″ Stanley No. 18. It locks with a screw from the bottom that runs through the stock and so sits flat either way around. It also locks solidly. They come in different lengths. For the purposes of chair making get the longest you can find.
Scrapers

To get the posts and stretchers close to round without a lathe a dedicated scraper is an excellent tool. You can buy ‘chair devils’ but it seems like such an extravagance that I never have. For under a tenner you can get a pair of precisely sized spindle scrapers. It’s hard to argue with the price but if you do get them make sure that you grind the corners off or a moment’s inattention will leave you with deep scars in your work. If you have a grinder and a bit of old saw plate or a spare cabinet scraper you can roll your own and get a much more convenient tool. I put a 5/8″ curve on one side and 1 3/8″ on the other flaring out to take a wider piece.

Steaming

I’ve used a steam iron, an electric kettle with the switch taped down and several combinations of camping stoves and pans to generate steam but the easiest and safest solution is a wallpaper steamer. At about £40 you might think this is a luxury and I wouldn’t argue but if you don’t already have the makings of a jury-rigged death trap and are planning to buy something this is your best bet. You can still do yourself an enormous amount of damage but you can do it continuously and reliably from a handy flexible hose.

To multiply the risk of scalding injuries you can forego the traditional steam box and heat your back posts and slats in a plastic bag. This is a technique used by boat builders to steam planks in place and scales down well for the occasional chair maker. Once you catch the chair making bug you’ll quickly decide to build a box but a thin steam-filled sack of seething heat will cut out one obstacle to bending timber.
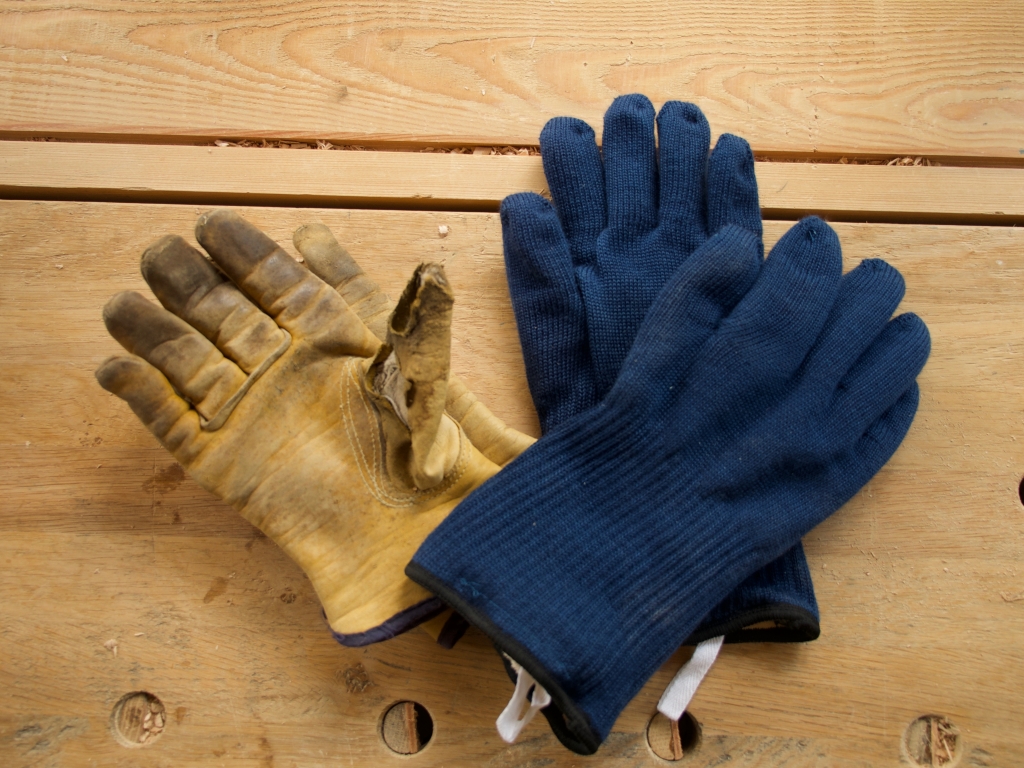
Rather than add to the terror by pressing into service that moth-eaten pair of old leather gloves for handling the scorching hot sticks it is definitely worth investing in a pair of bakers’ steam-proof gloves. Don’t use them for anything else; you don’t want to wear a hole in them. When faced with the collapsing pile of red-hot cling wrap that your steam bag turns into the moment you touch it, these will give you a bit of confidence, if not dexterity.
Clamps

Irwin Quick Grip clamps are that very rare thing in woodworking: excellent and cheap. They may not be the most robust clamps or exert the greatest force but they are incredibly useful. I keep three 600mm medium duty clamps on the bench during dry fit and glue up. I only use two but I’ve had the grips pull out on a couple which involves a couple of minutes with a screwdriver to reassemble them. It’s time you can’t afford when the glue is cooling so it’s worth having a spare on hand.

When Quick Grips aren’t strong enough to pull two pieces together you need the mechanical advantage of a screw clamp. I have a few 600mm F clamps that have a deeper reach than bar clamps and can pull even the most recalcitrant ladders into line. They’re particularly helpful on the back slat bending forms.
Tenon Rounder

This is the one specialist tool I would not be without. Even though I have three lathes (I know, I know) and generally turn chair parts to completion on them I still use a tenon former because I’ve matched it with my favourite bit. You could shave all of the tenons to size. Jenny Alexander did it this way and it can work well. But it takes a long time. Still – it’s pleasant work seated at the shaving horse. I prefer to use this tool and then scrape the transition. Here’s the maths: this chair has 24 5/8″ tenons. At £40 for the tool it’s less than £1.70 per tenon for one chair. Build four chairs and it’s under £40p. Your decision.
Bits
At most you need three sizes of bit to build a ladder back armchair: 5/8” for the stretchers, 3/4” for the arm tenons into the back posts and 1” for the front posts into the arms. But you can cut out the 3/4” if you’re happy to have a slightly skinny tenon into the back posts, as I did here.
Now you have a choice of bits. Traditionalists might like an auger bit in a brace but you risk the long lead screw coming through the opposite side of the workpiece. My favourite chairmaking bit is the square shanked Forstner bit in a brace but I can’t recommend it because you might wait for years for a 5/8” to come to the market and then you’ll have to sell a kidney. So the choice is really down to modern bits designed for high speed drills.
In an electric drill modern bits guzzle wood as if the worker’s livelihood depended on the industrial production of hamster bedding. But if you’re planning to adapt them for a brace you will find saw toothed Forstner bits rather less impressive than their single cutter ancestors. They’ll work but you might be there a while.

If you’re buying a dedicated bit don’t get it until you’ve tried the tenon former. I find a 5/8″ hole a bit sloppy for my 5/8″ tenons and so use a 15.5mm Forstner bit which is perfect (and more than .3mm smaller than 5/8”!). You can adjust them a hair but they’re finicky. Whichever bit you decide to buy get the long version or buy an extension. More on this later…

Have you seen the newer, “heavy-duty” version of the irwin clamps? Twice the clamping/separating force, about the same form factor.
LikeLiked by 1 person
Only online. I haven’t used them. Sounds like they’re worth a look. My only real complaint with them is that they’re not terribly robust. But they are fixable.
Thanks for suggesting them. I’ll order one. You know what they say about clamps…
LikeLiked by 1 person
I’d heard 😀 http://www.stochasticgeometry.ie/wp-content/uploads/2017/11/IMG_1436a-2.jpg
LikeLiked by 1 person
Wonderful post–full of practical information, including costs, and leavened with humor (oh, alright: humour).
LikeLiked by 1 person
Thanks Nancy.
LikeLike